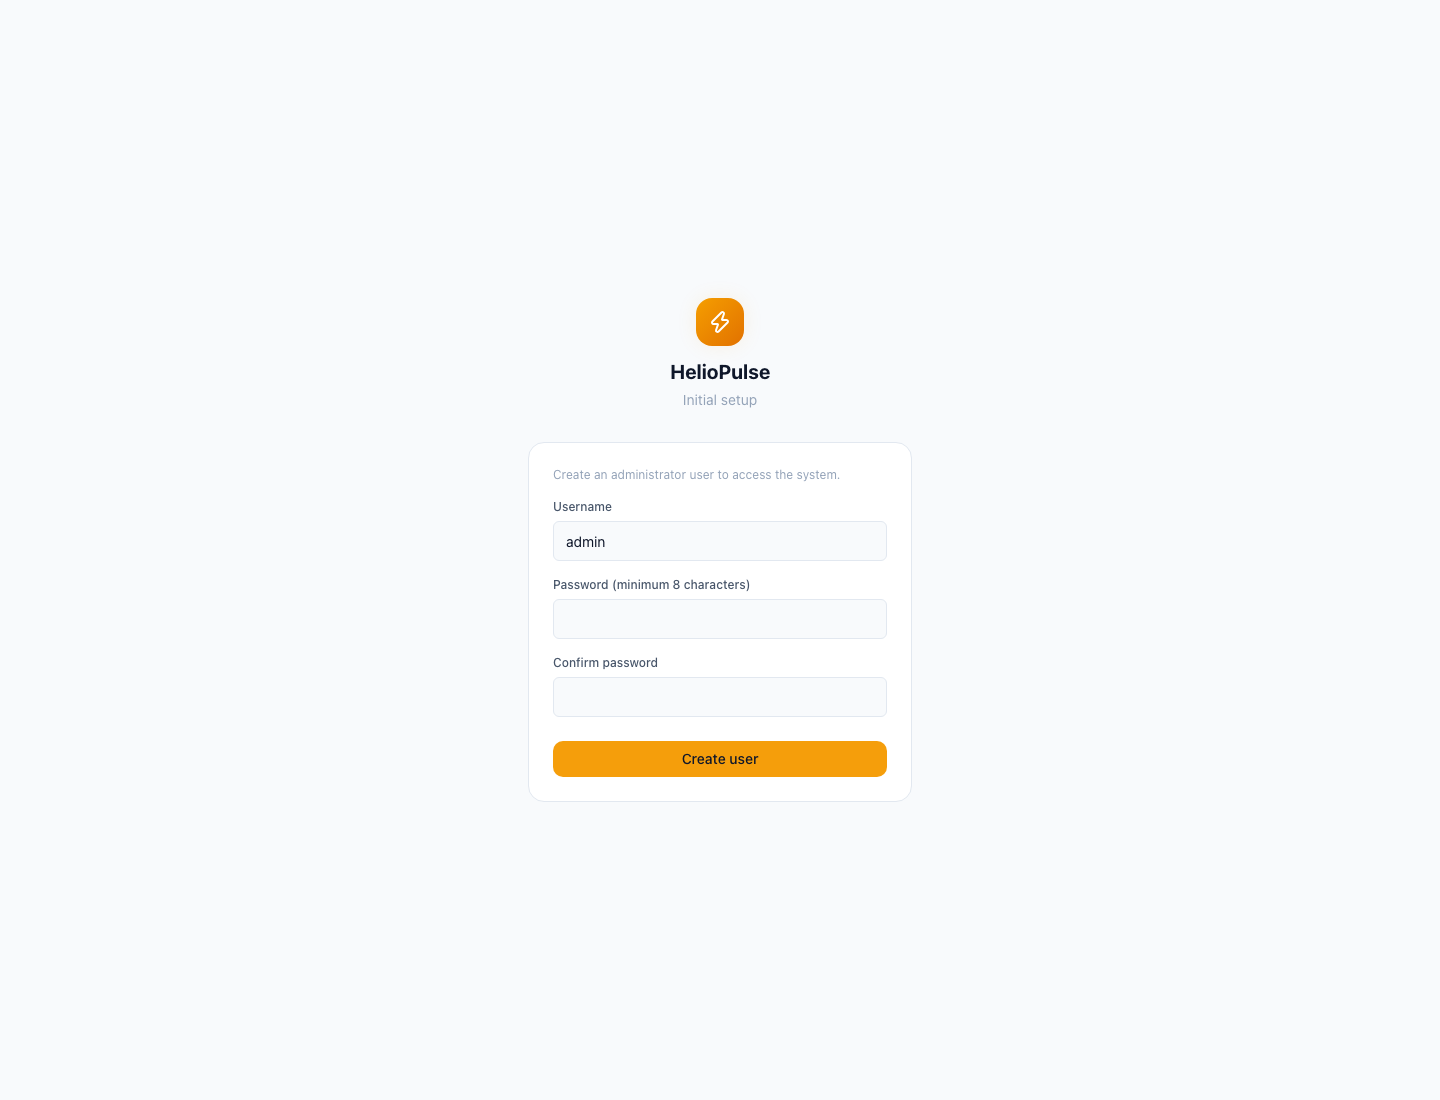
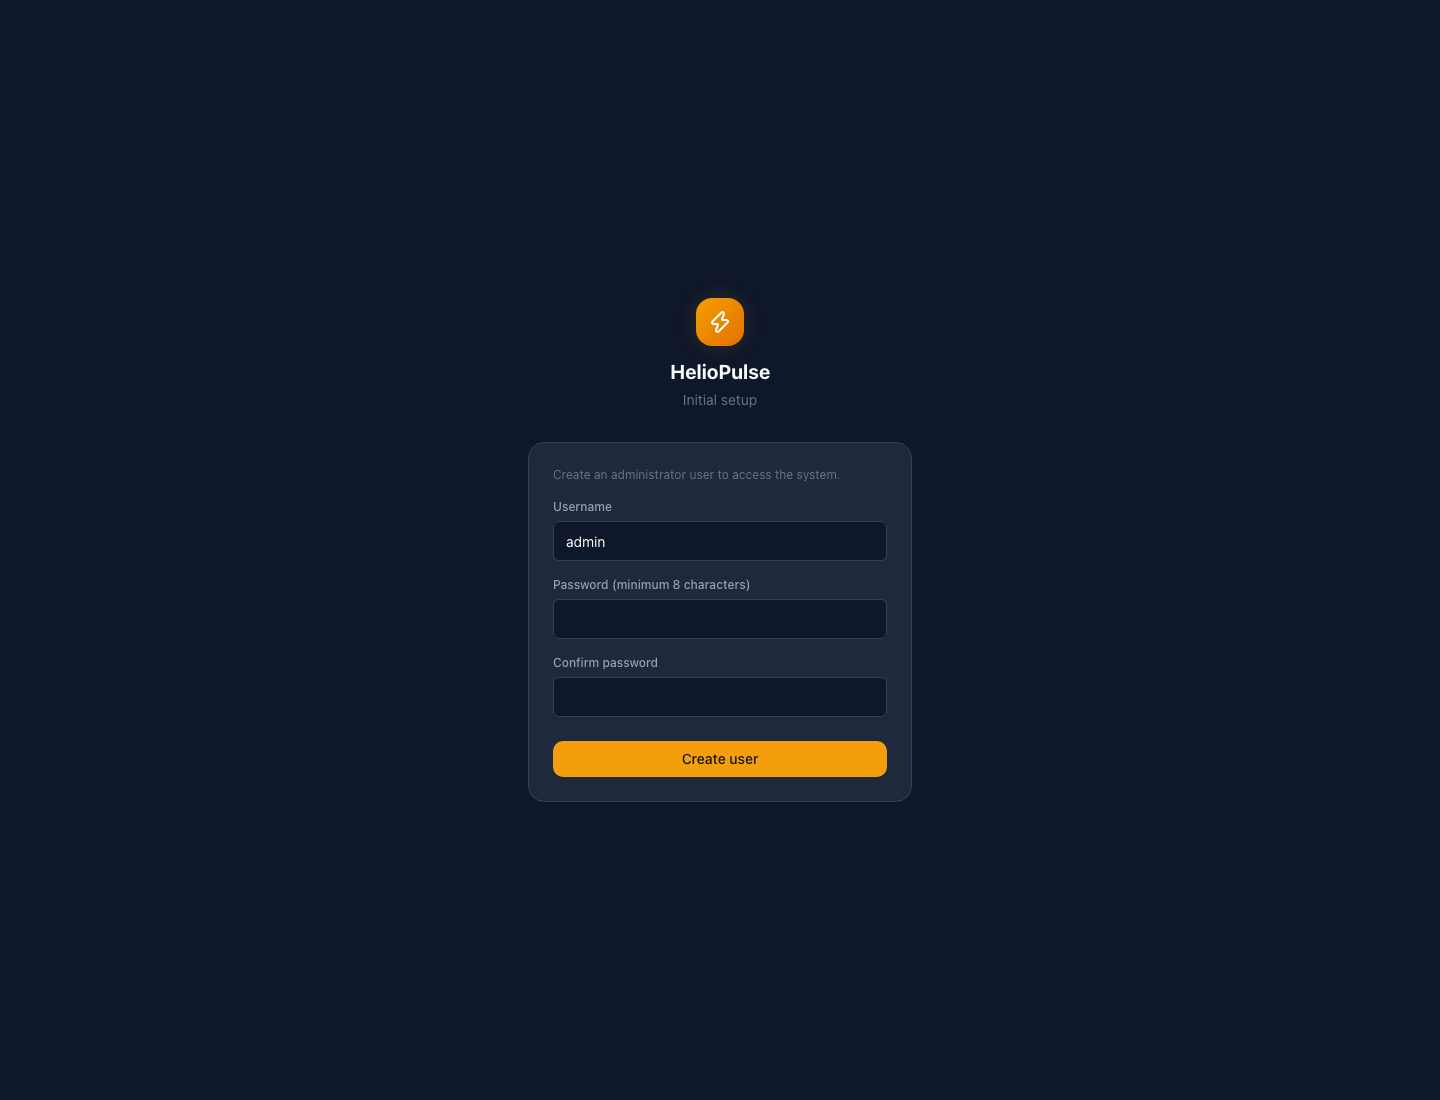
Setup and login
Start from the browser without SSH.
A progressive guide to install HelioPulse, understand its architecture, connect devices and extend the platform with drivers.
The guide is illustrated with real screens from the live HelioPulse installation.
Start from the browser without SSH.
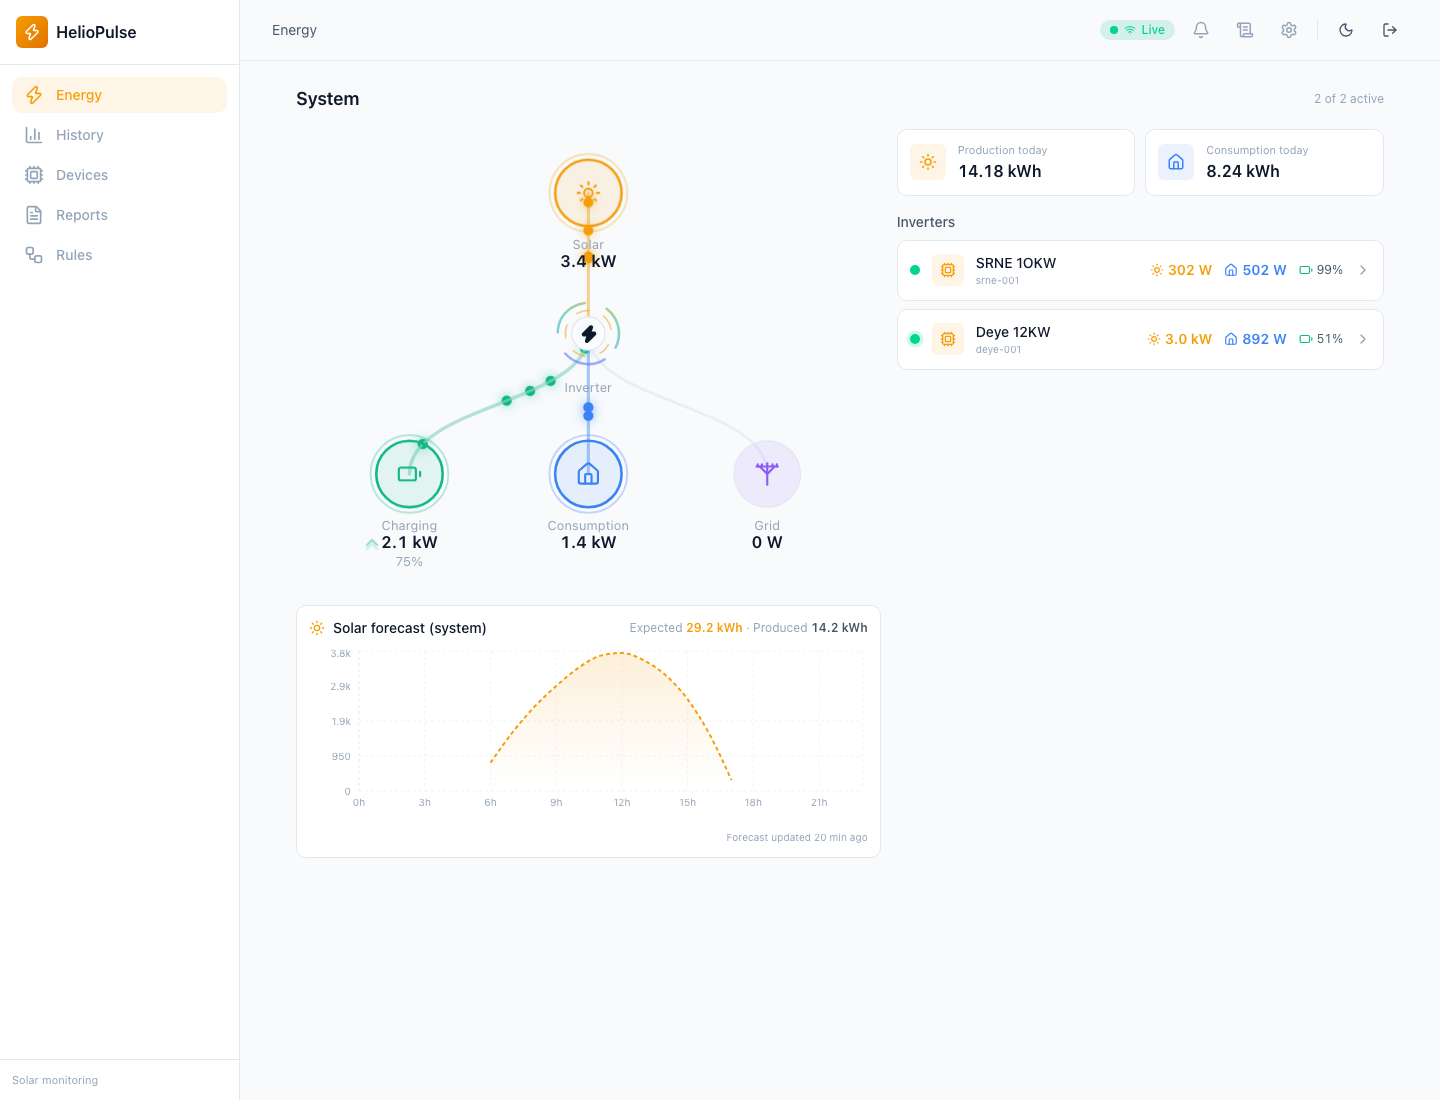
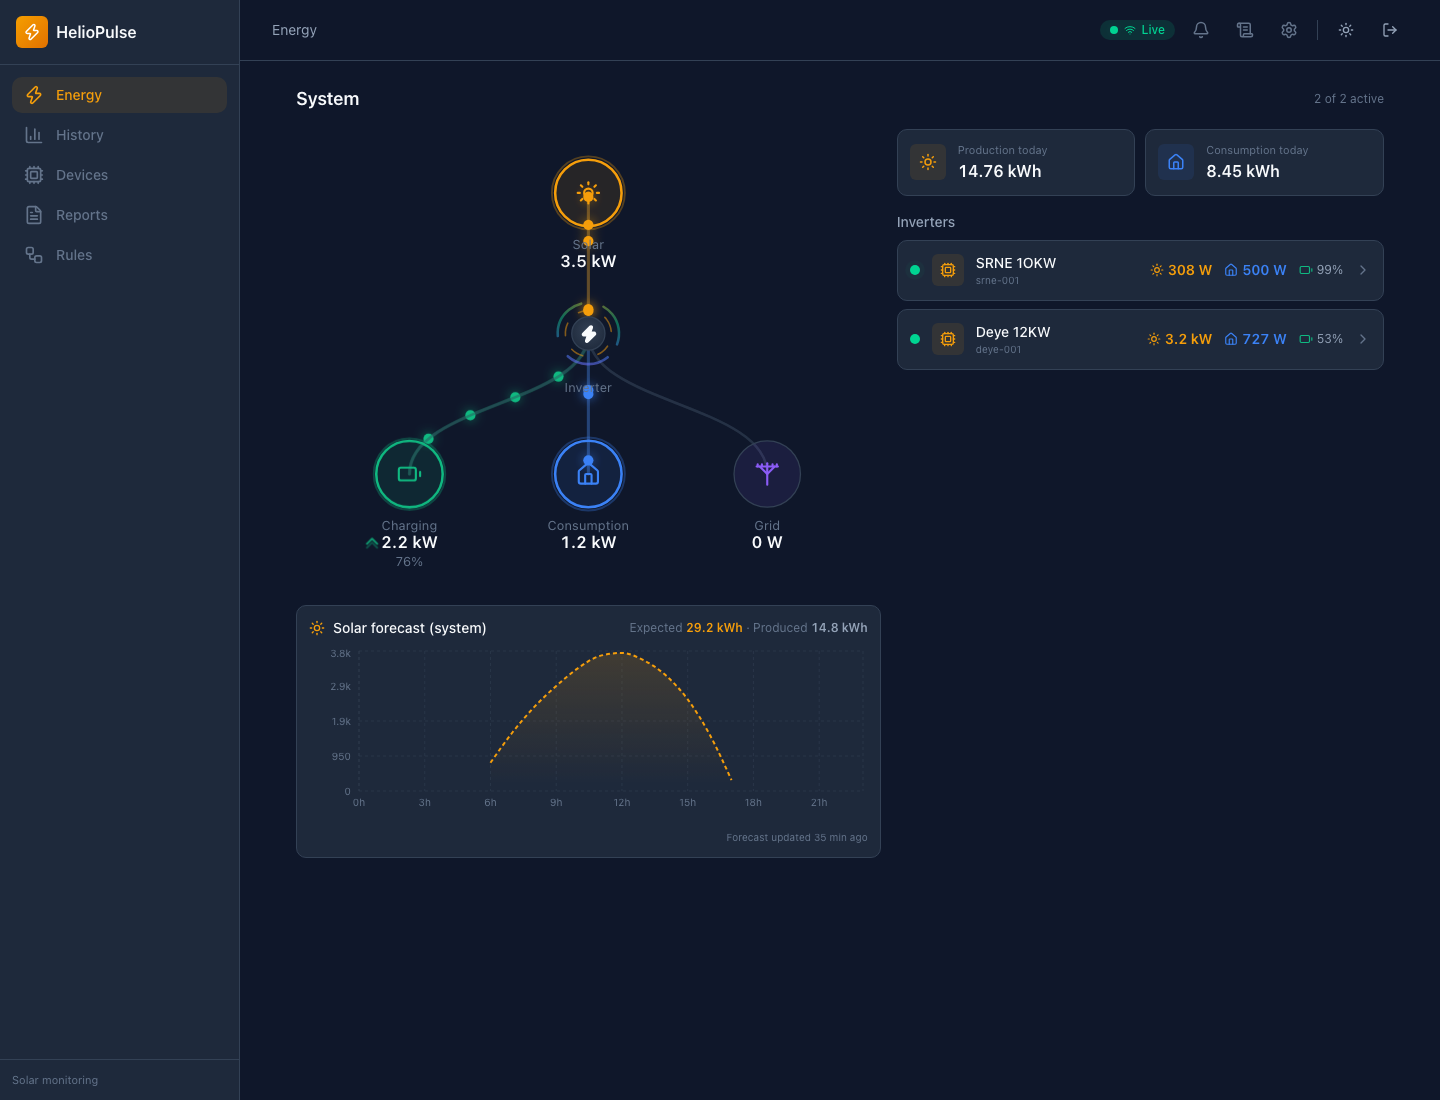
Confirm the system is reporting production and consumption.
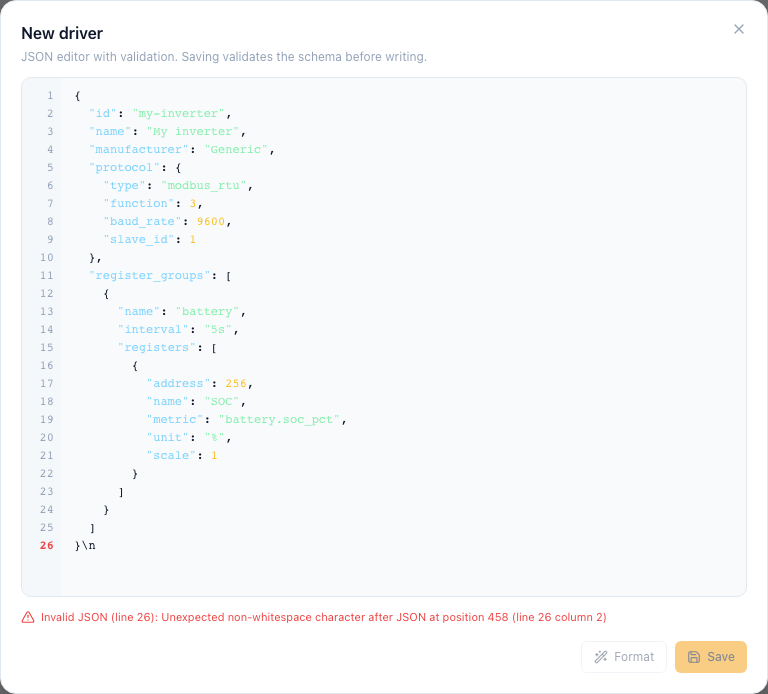
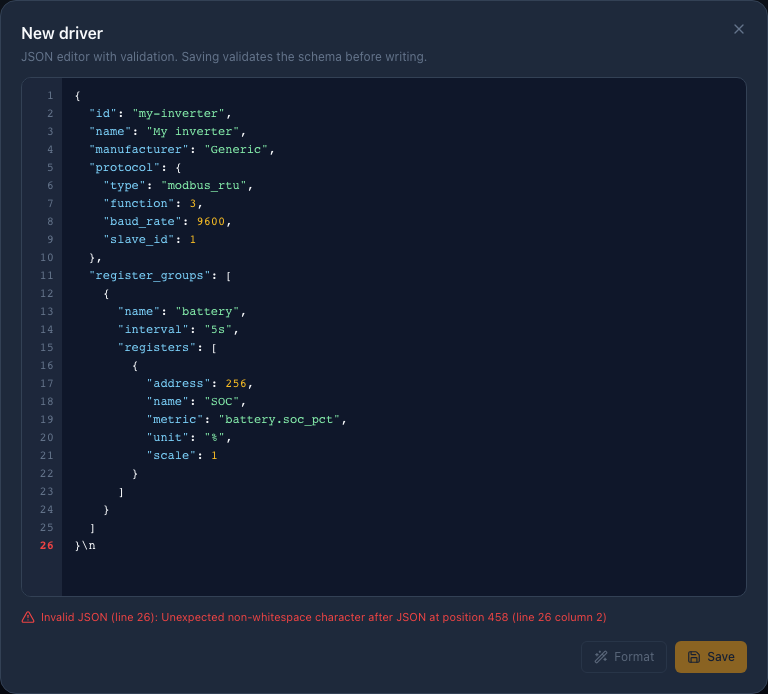
Create a Modbus driver from a JSON definition.
The current product combines live monitoring, local history, device management and safe operations on the Raspberry Pi.
Keep telemetry and history on the appliance and continue operating on your local network without Internet.
See solar, consumption, battery, grid and device connection state through live WebSocket updates.
Explore production, consumption, SOC, temperatures and phases from today to a custom range or one year.
Load, create and reuse declarative Modbus drivers without rewriting the panel.
Manage independent collectors, stable serial ports, device state and start/stop/restart actions.
Follow alarm transitions, acknowledge incidents and audit connectivity, configuration and collector events.
Generate deterministic reports with energy, anomalies, alarms and events; local AI is optional.
Inspect Raspberry resources, connectivity and diagnosis, then create backups and recover locally.
Use the panel on desktop or mobile with nine languages and light/dark themes.
Compare expected and produced solar energy after configuring the PV array.
Register a compatible BMS as its own device and inspect cells, balancing, SOC, SOH, temperatures and cycles.
Generate synthetic telemetry from a driver to validate the UI without hardware.
Optionally download and activate a local model; deterministic reports remain available without it.
Publish to an optional broker with TLS and Home Assistant discovery.
Use thresholds, schedules, alarms or events to publish MQTT, call webhooks or record events; dry-run is available.
Optional outbound tunnel access and signed application updates depend on configuration and connectivity.
Not part of the current local workflow.
Manual driver loading exists today; a public marketplace remains future work.
CAN, BLE and non-Modbus JK-style protocols are not part of the current supported path.
Automation actions do not write inverter parameters in this version.
Application OTA is available separately; full operating-system A/B rollback remains future work.
HelioPulse OS is a Linux image for Raspberry Pi designed for local energy monitoring.
Pi 4 with 4 GB or Pi 5 with 4/8 GB.
128 GB USB 3.0 SSD recommended or High Endurance microSD.
USB–RS485 adapter with galvanic isolation.
Get the image and review the release notes from the public releases repository.
View all releasesUse Raspberry Pi Imager or an equivalent tool. Select the downloaded file and the destination SSD or microSD.
Connect storage, network, USB–RS485 adapter and the official power supply suitable for your Raspberry Pi.
Wire RS485 according to the manufacturer's manual. Do not handle energized inverter connections.
When the device appears on your network, open its local address and complete the wizard. HelioPulse stays operational even when Internet access is unavailable.
Each device has an independent collector. A failure or restart in one inverter does not interrupt telemetry from the others.
The inverter or BMS exposes data through its protocol.
Describes protocol, registers, scales and metrics.
Reads each device in an isolated, controllable process.
Consolidates telemetry, history, alarms and forecast.
A driver is a declarative JSON file. It defines how to communicate over Modbus RTU and convert manufacturer registers into common HelioPulse metrics.
The package describes data; it does not install arbitrary binaries on the system.
The backend checks structure, protocol and registers before accepting the file.
The same driver can be used with several compatible devices.
You need the manufacturer's protocol manual and verified readings from a real device. The minimum schema requires an identifier, modbus_rtu protocol and at least one group with one register.
{
  "id": "my-inverter-modbus",
  "name": "My inverter",
  "manufacturer": "Manufacturer",
  "models": ["Model A"],
  "protocol": {
    "type": "modbus_rtu",
    "baud_rate": 9600,
    "slave_id": 1
  },
  "register_groups": [{
    "name": "battery",
    "interval": "5s",
    "registers": [{
      "address": 256,
      "name": "battery_soc",
      "metric": "battery.soc_pct",
      "unit": "%",
      "scale": 1,
      "signed": false
    }]
  }]
}In Equipment → Drivers, select the file. HelioPulse validates the schema before saving it.
Set a device ID, driver, persistent by-id port and a slave ID between 1 and 247.
Start or restart only that device and confirm that telemetry becomes active.
Uploading another file with the same ID updates the driver. Restart associated devices to apply the new definition.
This view communicates the project's current direction. Scope and order may change after technical validation and field testing.
Download the stable release or review the source code and project evolution.